
How To Cultivate Red Reishi At Home
Grow Red Reishi, Syringe to Harvest
A powerful medicinal mushroom with a fascinating two-phase fruiting habit — here's the full walkthrough, from grain to conk.
Red Reishi (Ganoderma lucidum) is a powerful medicinal mushroom packed with benefits and absolutely achievable at home. It rewards patience — colonization takes longer than many gourmet species — but with steady temps and a simple routine, you'll get there. Let's jump right in!
You'll Need a Living Culture
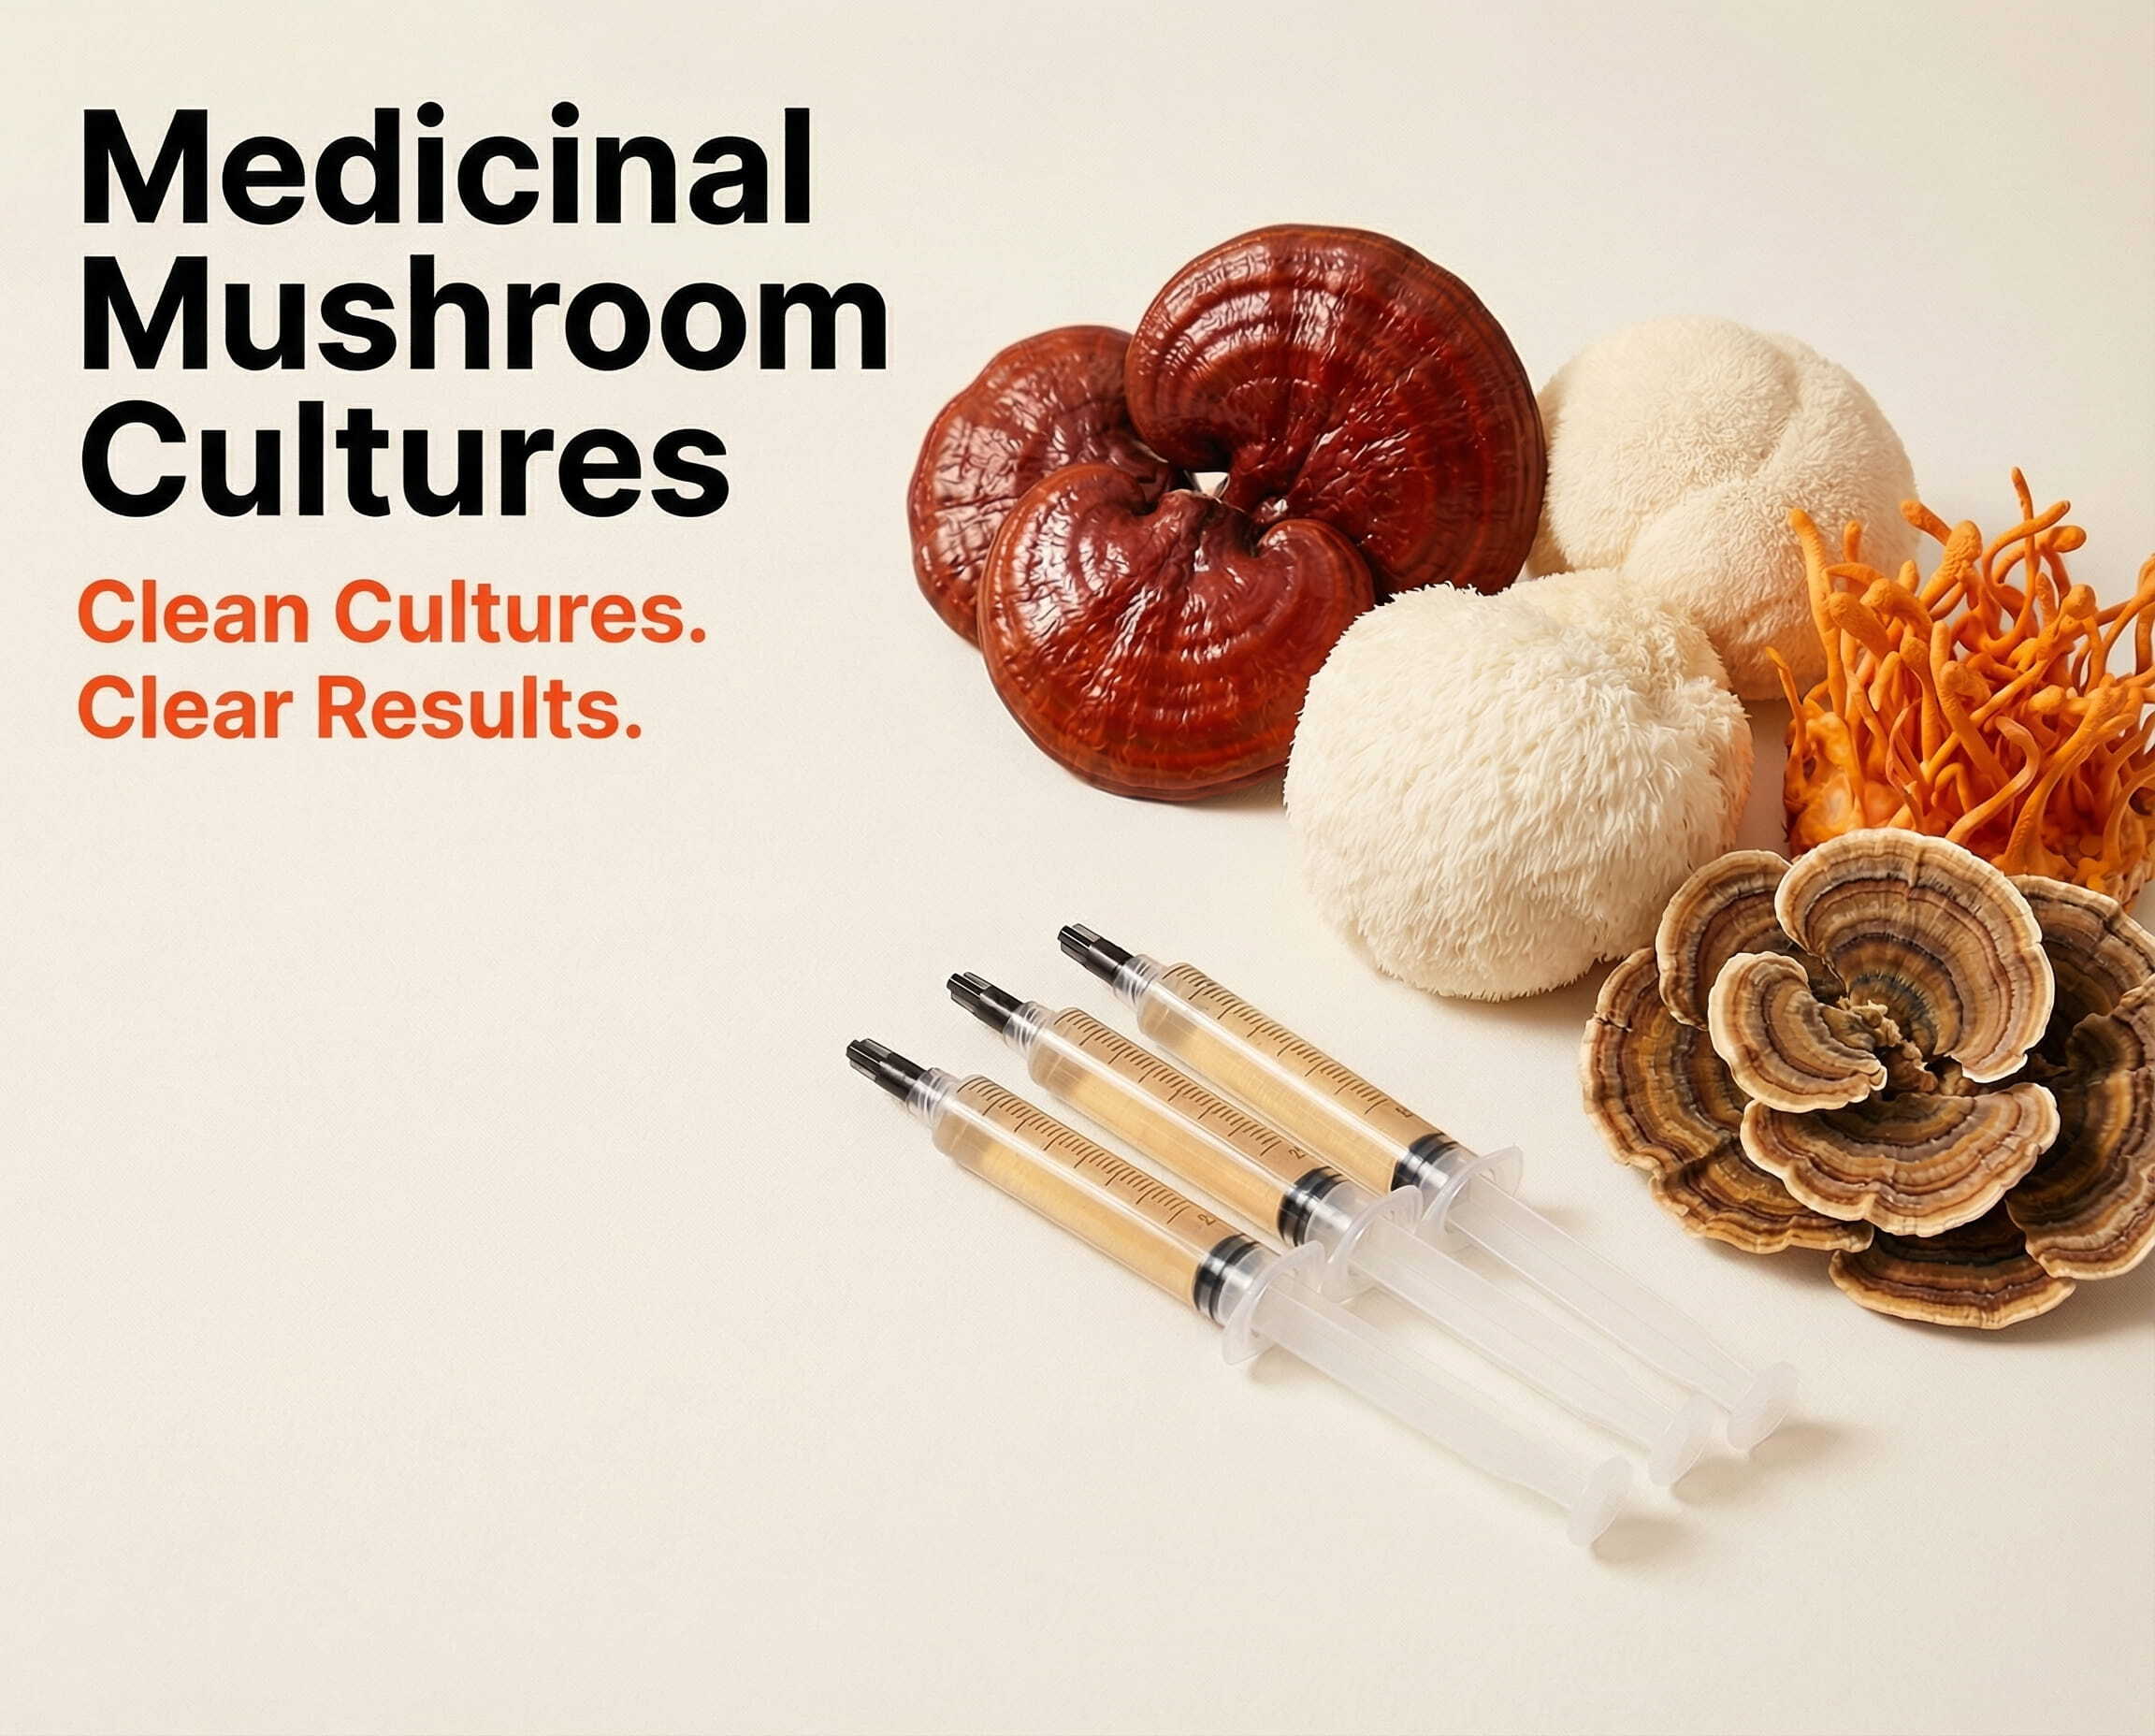
This guide starts from a Red Reishi liquid culture. Grab yours below — and if you're new to liquid cultures, our LC guide covers the syringe basics first.
Shop Red Reishi Liquid Culture → How to Use a Liquid Culture →Shop Cultures & Supplies
Drag or scroll to explore →





1What Grains Should I Use?
Red Reishi grows wonderfully on rye or 5-grain for best results. If prepared correctly, you may also use oats, corn, or rice. Reishi is generally not fussy about starter grain.
Pro Tip
- ALWAYS use sterilized grain. This helps tremendously when avoiding contamination. Trusted sources: midwestgrowkits.com or mycolabs.com for rye or 5-grain bags/jars.
- You may also sterilize grains at home — just follow proper prep and cook times for your batch size.
2How Do I Inoculate?
Keep it clean and simple. Use a still-air box (SAB), laminar flow hood, or even the oven-door method. Gather isopropyl alcohol, paper towels, vinyl gloves, grain bags/jars, and your Red Reishi liquid culture syringe.
Check how many cc's to inject based on your jar/bag size.
- Put on vinyl gloves. Clean your workspace with isopropyl alcohol, then mist your gloves and allow to dry.
- Use the provided alcohol swab to wipe the injection port (bag bottom or jar lid).
- Shake your syringe vigorously. Remove the cap and attach the sterile needle. You're ready to inject.
Pro Tip
After puncturing the port, hold the syringe at a ~45° angle and give the bag/jar a careful 360° spin to help spread the LC.
(Using jars? A vigorous shake right after inoculation won't harm the LC and helps distribute it.)
3Colonization
Keep Reishi between 70–80°F (21–27°C) during colonization. Expect ~3–4 weeks for a full grain run.
When you see ~50% coverage, do a break and shake to disperse colonized grain into fresh grain and speed things up.
This phase can sit in the dark — no need for humidity or light management. Check daily for contamination. Brief light exposure during checks won't hurt the mycelium.
- Grain bags: cut any tape so the bag stands tall, perform a break & shake, then reshape into a block.
- Jars: shake to distribute colonized kernels evenly.
If colonization stalls: verify temps and avoid big swings. Correcting the environment early prevents long delays.
4Transferring to Substrate
Red Reishi thrives on hardwood sawdust + soy hull (commonly called Master's Mix).
RULE OF THUMB — one colonized grain bag → up to 6 Master's Mix bags. For faster colonization, split into 2.
Reishi does not benefit from monotub "bulk" methods — it wants focused fruiting zones (think: a dead-tree mimic). You can use buckets or outdoor hardwood logs; below covers the bag method.
- Gloves on; clean workspace with isopropyl alcohol. Mist the outside of colonized grain and Master's Mix bags; let dry.
- Cut open both bags and pour colonized grain into the Master's Mix bag.
- Seal (heat seal recommended) or secure with clips/bands/zip ties — leave a little air so you can shake.
- Shake vigorously to distribute colonized grain throughout the substrate.
- Lock in CO₂: tape the top of the bag down to the body of the bag to encourage the next phase.
- At ~50% substrate coverage, remove the tape, break up and shake again, then reshape as a block with the top upright.
- Allow it to finish colonizing fully — then you're ready for fruiting.
No fresh-air exchange yet — Reishi still prefers CO₂ for this stage.
5The Fruiting Stage
Great work — time to fruit! Reishi has a unique two-part fruiting habit: the antler phase (high CO₂), then the fan-out phase (oxygen introduced).
Phase 1 — Antlers (High CO₂)
- Keep the bag closed with the top standing straight up. No cuts yet.
- Provide 8–12 hours of light daily; maintain 70–80°F (21–27°C).
- Allow antlers to form for about 2–3 weeks (CO₂ buildup drives antler growth).
Phase 2 — Fan Out (Introduce Oxygen)
- When the tallest antlers reach the top of the bag, cut the top off to introduce oxygen.
- Begin light daily misting to form a fine surface sheen (increase to 2–3× daily in dry climates).
- Aim for ~80% RH+; gentle FAE helps the shelf-like conks fan out.
Method 1 — Fruiting Chamber / Monotub
Use a tote or monotub as a humidity chamber. After cutting the bag open, mist daily. If your tub has side filter patches, they'll assist with FAE; if not, crack the lid for a few minutes 2–3×/day to vent CO₂ and admit oxygen.
Method 2 — Automated Grow Tent
Place fully colonized blocks in a tent with humidification and periodic FAE. You can also connect a fan to pull in fresh air. A simple timer set to ~15 minutes every 3–4 hours works well — adjust based on humidity or if the cakes look like they're drying.
- Avoid prolonged temps above 80°F (contamination risk).
- Dump standing water from the bag bottom when you notice buildup (a little yellowish liquid can occur and is normal in small amounts).
Want Reishi's benefits without the wait?
Reishi is prized for calm, stress relief, and restful sleep — but a home grow takes months. Mycogen Night Reset delivers concentrated Reishi in a nightly extract — same mushroom, ready to take tonight.
Shop Mycogen Night Reset →Need Help or Have Questions?
If you have specific questions along the way, contact us via email or phone. We're here for you every step of the way.
Best of luck, fellow fungi friends — and happy cultivating!
Spore Genetics — Exceptional Mushroom Spores & Cultures