
How to Cultivate Portobello Mushrooms at Home
Grow Portobello, Syringe to Harvest
The big, meaty, chocolate-gilled classic — and the same culture that gives you brown buttons and cremini. Portobello plays by different rules than every block-grown mushroom: it wants conditioned compost, a moist casing layer, and a carefully timed cool-down.
Portobello mushrooms are the mature form of a brown strain of Agaricus bisporus. The same culture produces small brown buttons, cremini / baby bella, and full-sized Portobellos — the difference is mainly the stage at which you harvest. Portobellos are simply left to mature until the veil opens and the cap expands broadly.
Portobello cultivation differs sharply from Lion's Mane, Reishi, oysters, and most gourmet cultures. It does not perform best on straw alone, hardwood sawdust, or Master's Mix. It grows on a specially prepared, microbially conditioned compost and requires a moist, non-nutritious casing layer before mushrooms will form. The full process: expand the liquid culture into grain → mix the grain spawn into prepared mushroom compost → complete the spawn run → apply a casing layer → let the mycelium partly enter the casing → lower temperature and CO₂ to initiate pins → grow the mushrooms past the cremini stage into mature Portobellos. It's more involved than a hardwood block, but it can produce several organized harvests when compost, casing moisture, temperature, and fresh air are managed correctly.
You'll Need a Living Culture
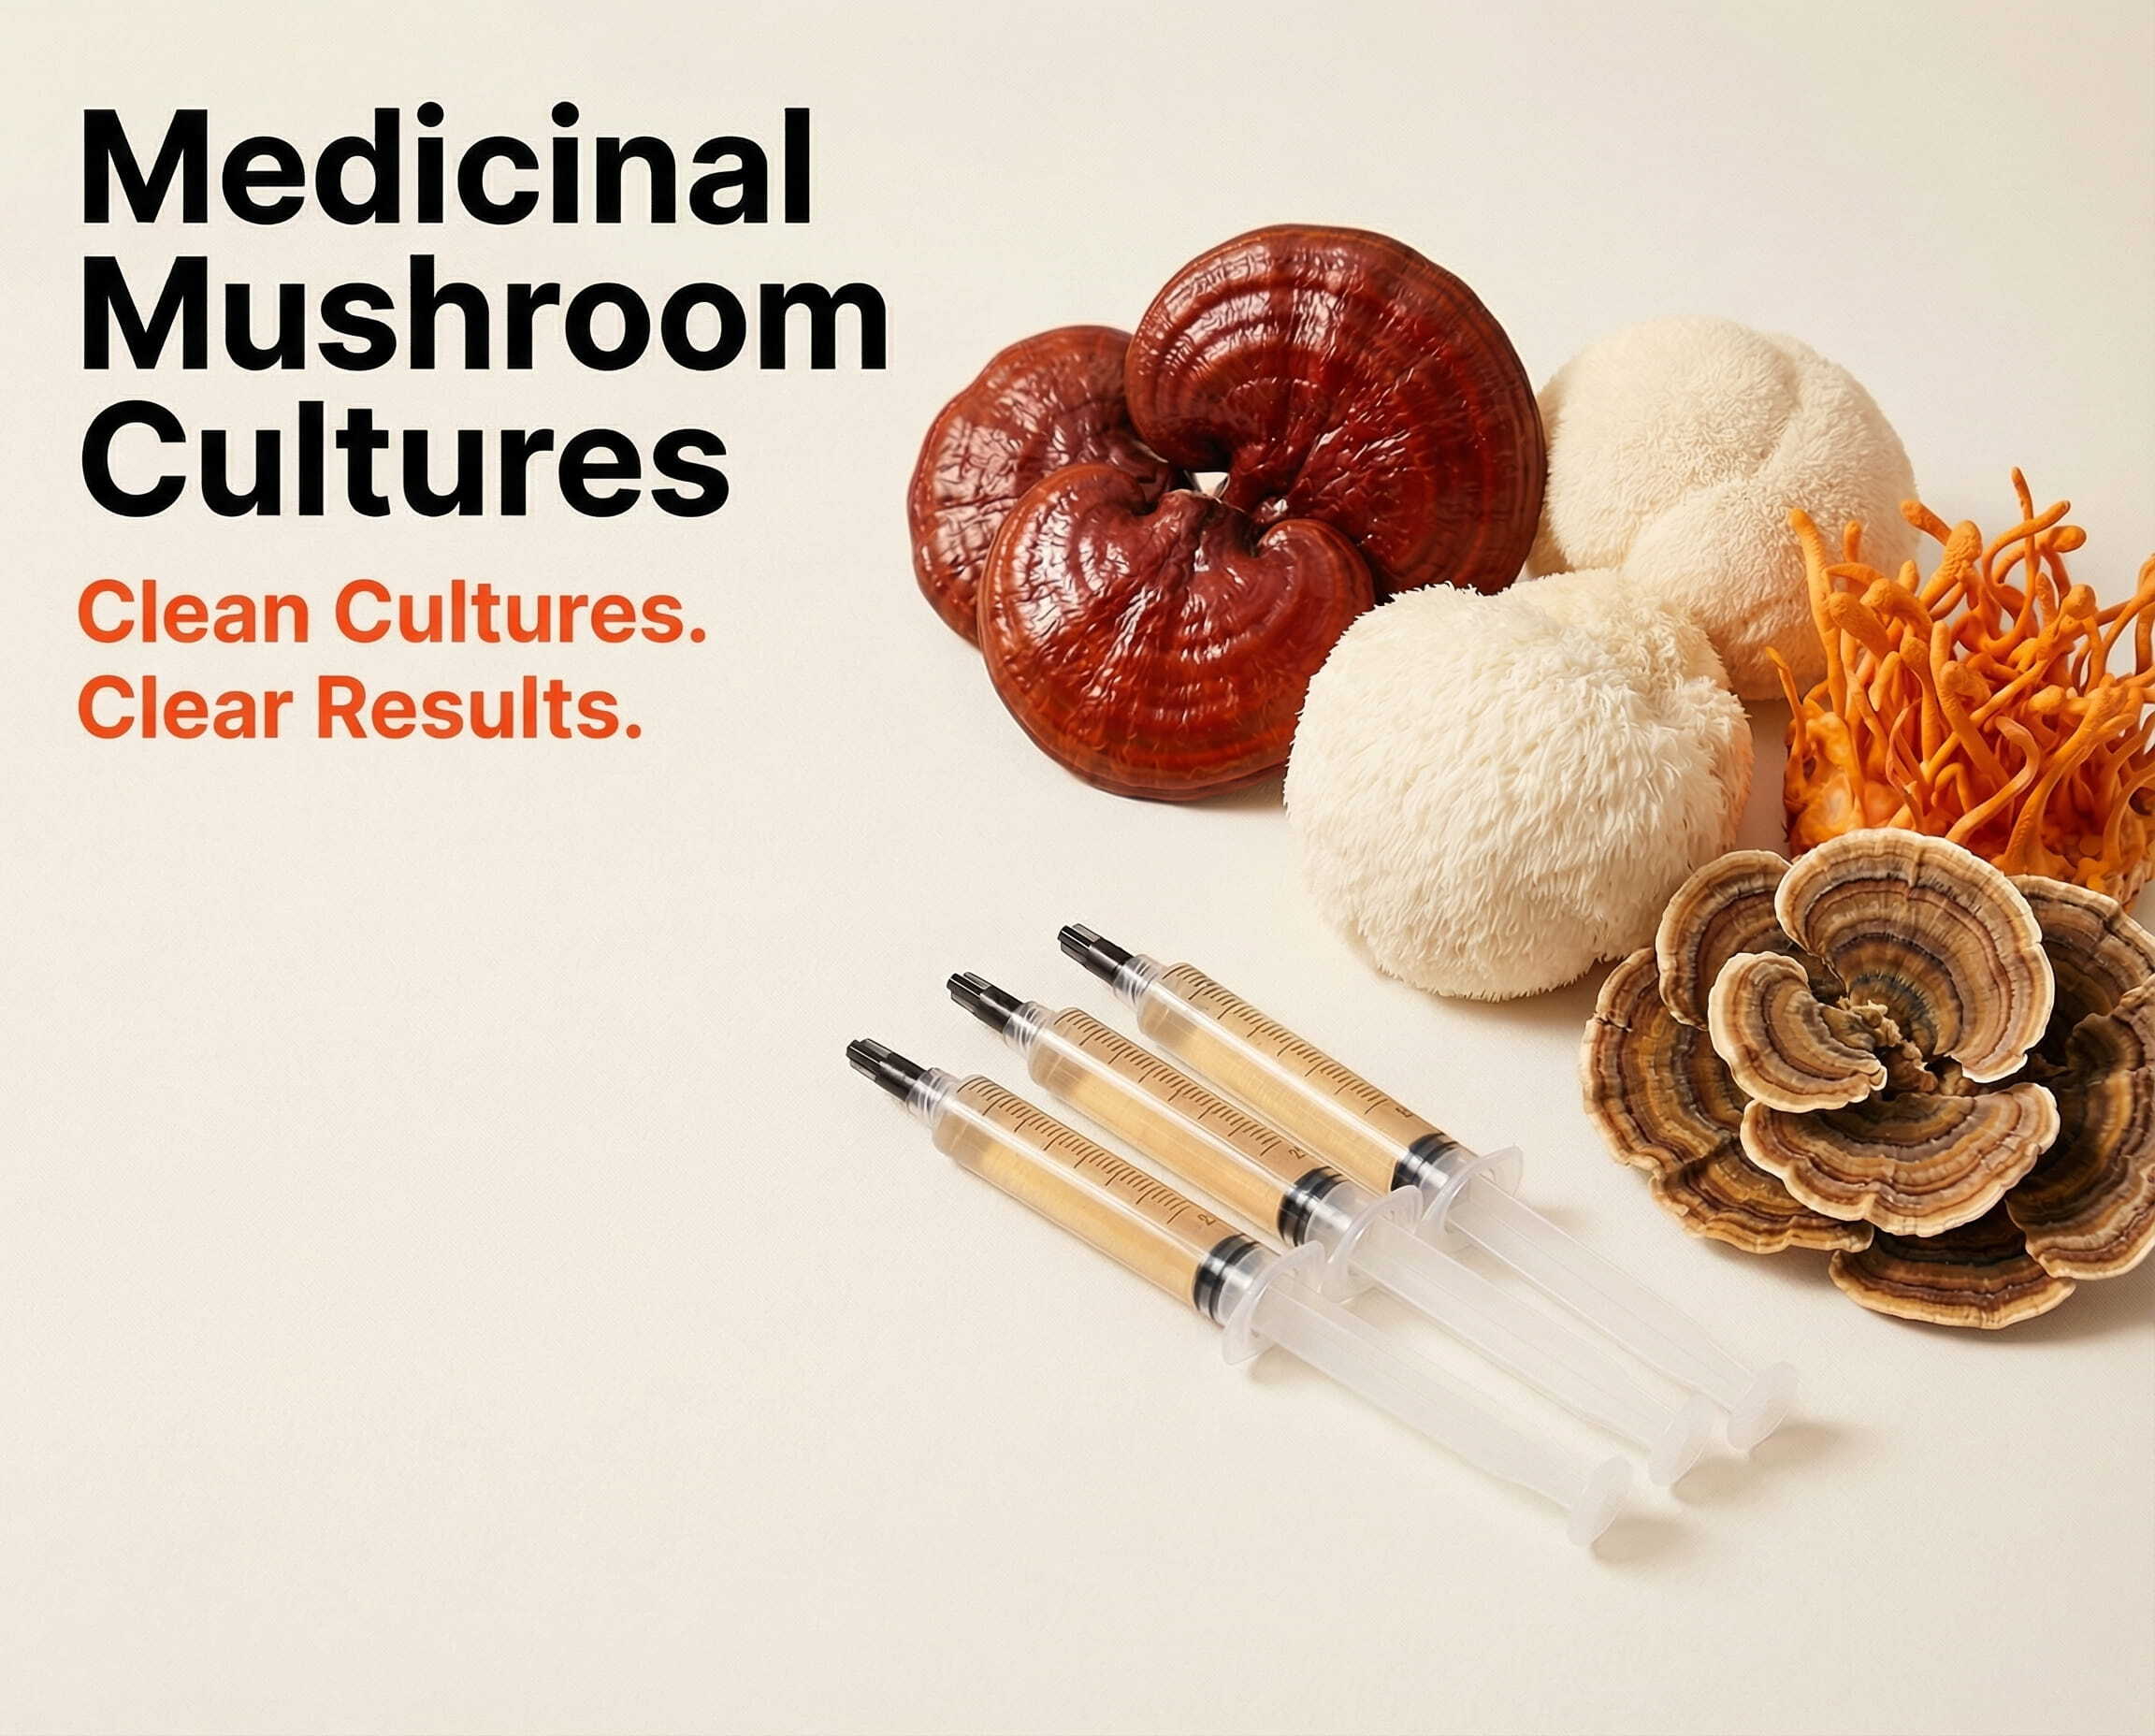
This guide begins with a Portobello liquid culture syringe — 10 cc of living mycelium. Use it to make grain spawn first, rather than spreading it directly through a large compost bed. New to liquid cultures? Our LC guide covers the syringe basics.
Shop Portobello Liquid Culture → How to Use a Liquid Culture →You'll also need:
Sterilized cereal grain (rye, wheat, millet, milo) + grain jars or filter-patch bags · properly prepared Phase II mushroom compost · shallow trays, beds, or grow bags · pasteurized casing material (peat moss + vermiculite for home casing) · calcium carbonate for casing pH · a pressure cooker · a still-air box or laminar flow hood · 70% isopropyl alcohol · alcohol swabs · nitrile or vinyl gloves · a thermometer and hygrometer · a compost/probe thermometer · a cool, humidity-controlled fruiting room or tent · an optional CO₂ meter.
Shop Cultures & Supplies
Drag or scroll to explore →





1What Grain Should I Use?
Portobello mycelium expands on several properly prepared grains — rye berries, wheat berries, millet, milo/sorghum, or a multi-grain blend. Rye and wheat are especially practical because they stay easy to break apart and distribute through compost after colonization.
Properly prepared grain should be:
Fully sterilized · hydrated internally · dry on the outside · loose enough to shake · free from standing water · with enough headspace for one break and shake. Portobello mycelium is not as fast or aggressive as oyster mycelium — grain that's too wet can develop bacterial problems before the culture finishes it.
Recommended liquid-culture amount:
One-quart jar: 1–2 cc · two-pound bag: 2–4 cc · three-pound bag: 3–5 cc. Using the whole syringe in one container is unnecessary and can create wet pockets between kernels.
2How Do I Inoculate the Grain?
Work inside a still-air box, in front of a laminar flow hood, or in another clean area with very little moving air.
- Put on clean gloves and clean the work surface with 70% isopropyl alcohol.
- Wipe the outside of the grain jar or bag.
- Shake the Portobello liquid culture syringe vigorously.
- Remove the cap and attach the included sterile needle.
- Wipe the injection port with an alcohol swab and let the alcohol evaporate.
- Insert the needle through the port and inject the recommended amount.
- Direct the liquid toward several areas of grain when possible.
- Remove the needle, label with the species and inoculation date, and move it to the grain-colonization area.
Pro Tip
- A grain bag may be massaged gently after inoculation, but vigorous mixing is unnecessary until visible growth is established.
- Don't flame a needle beside freshly applied isopropyl alcohol — the vapor is flammable.
3Grain Colonization
Keep the inoculated grain at:
- Temperature: 72–77°F (best ~75°F)
- Light: darkness or ordinary indirect room light
- External humidity: not important while sealed
- Visible growth: ~5–10 days · full colonization: ~2–4 weeks
Commercial Agaricus bisporus spawn performs best close to 75–76°F. Grain approaching or exceeding 80°F can weaken or damage the culture — avoid placing bags directly on heating mats.
Healthy mycelium may appear fine and white around injection points, wispy during early growth, increasingly cottony as it spreads, closely attached to the kernels, cream-colored with age, and generally less dense than oyster or Reishi mycelium.
When should I break and shake?
Perform one break and shake at ~30–40% visible colonization.
For a bag: gently break apart the colonized sections, mix them through the remaining grain, redistribute into an even layer, and return to ~75°F.
For a jar: tap it against a padded surface, loosen the colonized kernels, shake until distributed, and return to incubation.
Healthy Portobello may need several days to recover. Avoid repeatedly shaking the grain.
Signs of contaminated grain
Green powdery mold · black mold · pink or red colonies · wet or greasy kernels · milky liquid between grains · sour or fermented odors · grain that stays wet and uncolonized. Do not mix contaminated grain into mushroom compost.
4What Fruiting Substrate Should I Use?
Portobello requires properly prepared mushroom compost — not a hardwood or straw block. Commercial Agaricus bisporus compost is built from wheat straw, poultry or horse manure, gypsum, water, and additional nitrogen sources, then run through a controlled microbial composting process, pasteurized, and conditioned until harmful organisms are reduced and free ammonia is gone. The finished compost is selective for Agaricus bisporus — it is not ordinary garden compost.
Use Phase II compost
For this guide, purchase finished Phase II mushroom compost — it has been composted, pasteurized, conditioned, cleared of harmful ammonia, and prepared for spawn. Because you're starting from a liquid culture and making your own grain spawn, Phase II is the right product.
What about Phase III? Phase III compost is already inoculated and colonized by spawn — useful if you want to skip grain-spawn production, but not the logical choice when the goal is to use your Portobello liquid culture.
Do NOT use
Master's Mix · hardwood fuel pellets · plain straw · coco coir by itself · potting soil · fresh manure · unfinished compost · ordinary bagged garden compost · spent mushroom compost from a previous crop. Spent substrate has already supported a crop and lacks the readily available nutrition of fresh Phase II compost.
5Can I Prepare Compost at Home?
Yes — but it's a separate multi-stage project. The basic process: wet and mix straw with nitrogen-containing ingredients, repeatedly turn and aerate, let microbial heat develop, pasteurize, condition at a lower temperature, wait until ammonia is no longer detectable, then cool before spawning. Phase II specifically means pasteurization followed by conditioning that lets remaining ammonia clear.
Compost that still smells strongly of ammonia is not ready for spawn and can damage the mycelium. For most home growers, buying prepared Phase II compost is far more dependable than composting from raw straw and manure.
6How Much Grain Spawn Should I Use?
This is where Portobello surprises block growers: finished mushroom compost is highly selective and is spawned at a much lower rate than a hardwood block.
Home spawn rate: ~1–2% colonized grain by wet compost weight (target ~2%)
- 10 lb compost → ~3 oz grain spawn
- 20 lb compost → ~6 oz grain spawn
- 40 lb compost → ~12 oz grain spawn
That's far below the 10–20% used for hardwood fruiting blocks. Commercial rates run about 1–3% (dry-weight basis) or ~0.5–0.7% of wet compost weight. Slightly more spawn can shorten the spawn run, but large amounts leave unconverted grain in the compost and can invite pests or contaminants.
7Preparing & Spawning the Compost Tray
Use a tray or bed approximately 6–8 inches deep.
- Confirm the compost has cooled to ~75°F or below.
- Check that it smells earthy and compost-like, not strongly of ammonia.
- Break the colonized grain into individual kernels.
- Place part of the compost into the cleaned tray, sprinkle grain spawn evenly across it, then continue adding and mixing compost and grain.
- Distribute the spawn throughout the entire tray — don't leave it concentrated at the top or bottom.
- Compress the compost gently and level the upper surface.
- Cover the tray loosely with clean plastic, a lid, or damp paper, and label with the culture and spawning date.
Commercial guidance uses 6–8-inch beds and emphasizes even mixing, gentle compression, and leveling before the spawn run begins.
8Compost Spawn Run
Maintain:
- Compost temperature: 75–77°F
- Room-air temperature: ~72–75°F
- Relative humidity: ~90–95%
- Carbon dioxide: high · Fresh air: minimal
- Light: not required · Spawn run: ~12–21 days
Commercial spawn run completes in ~2–3 weeks. High humidity limits surface drying; elevated CO₂ supports vegetative growth. The compost runs warmer than the surrounding air, so measure the compost, not just the room.
Watch the compost temperature
Active mycelium releases heat. If the compost approaches 80°F: lower the room temperature, increase gentle room-air circulation (never a fan aimed at the compost), confirm the tray isn't excessively deep, and keep it off any heating mat. Sustained excessive compost temperatures weaken the culture and encourage competitors.
What should healthy compost look like?
Fine white strands moving between pieces of compost, increasingly connected white patches, rhizomorphic cords, a gradual shift from dark-brown compost to a lighter colonized look, and a clean, earthy mushroom smell. The tray doesn't need to become a solid white block — the important sign is organized mycelium throughout the compost.
Do not break and shake the compost. The grain was distributed when you prepared the tray. Mixing it again during spawn run damages the developing network and delays casing.
9When Is the Compost Ready for Casing?
Apply casing when:
~12–21 days have passed · mycelium is visible throughout the compost · the upper surface shows numerous healthy white strands · no major uncolonized wet areas remain · the compost smells earthy (not sour or ammonia-like) · no green, black, pink, or rapidly spreading contaminant growth is visible.
A complete spawn run generally takes 14–21 days. Don't wait until the compost develops a thick, solid surface mat — apply casing once the compost is thoroughly colonized but still active.
10What Is a Casing Layer?
Casing is a moist, porous, low-nutrient layer placed over the colonized compost. It is not the mushroom's food. Agaricus bisporus requires it for dependable mushroom formation — its water-holding properties and microbial community are both important to fruit-body initiation.
The casing layer:
Holds water for mushroom development · supports gas exchange · creates the physical environment primordia need · supports beneficial microbial activity · protects the underlying compost · helps organize the crop into flushes.
It should be:
Soft and porous · low in available nutrients · able to hold substantial water · resistant to compaction · about pH 7.0–7.5 · free from pests and aggressive molds · moist but not muddy.
11Recommended Casing
The easiest option is a commercially prepared, pasteurized mushroom casing. To mix your own:
Practical home casing formula
4 parts peat moss · 1 part coarse vermiculite · finely ground calcium carbonate as needed · clean water. Adjust to ~pH 7.0–7.5. Calcium carbonate is easier to control than strong hydrated lime — add it gradually, mix thoroughly, let the casing rest, and test pH before applying.
Keep small clumps and open spaces. Do not screen it into a fine powder or compress it smooth — preserve clumps, small valleys, and air spaces.
Casing moisture
Hydrate until it feels evenly moist, holds together lightly when squeezed, breaks apart when touched, releases little or no free water, and does not form mud. Wet the casing to roughly 50–60% of its water-holding capacity before treatment and application.
12Should I Sterilize the Casing?
Pasteurize — do NOT fully sterilize.
Use pasteurized casing, not untreated outdoor soil. Commercial guidance steam-pasteurizes around 140–149°F for six to eight hours. This matters because casing bacteria participate in Portobello primordium formation — fully sterilizing the casing removes that beneficial community, and a sterile casing exposed to an ordinary room is also vulnerable to rapid recolonization by unwanted organisms. For a home grow, commercially pasteurized casing is the safest, simplest option.
13Applying the Casing Layer
- Confirm the compost spawn run is complete and level the surface gently.
- Apply a light spray of clean water if the compost surface looks dry.
- Add approximately 1½–2 inches of casing, reasonably uniform in depth.
- Leave small hills, valleys, and natural clumps — do not press it firmly.
- Apply water in several light installments, stopping before water runs into the compost.
- Return the tray to warm case-run conditions.
Commercial guidance uses ~4–5 cm (~1½–2 in) of casing and adds water gradually so it stays in the casing rather than draining into the compost.
14Case Run
Maintain (still warm, still high-CO₂):
- Temperature: 73–77°F (best ~75°F)
- Relative humidity: ~95%
- Carbon dioxide: high, often above 7,500 ppm
- Fresh air: minimal · Light: not required
- Time: ~7 days
During case run, mycelium moves up from the compost into the lower casing. Hold warm, humid, high-CO₂ conditions for about a week without introducing fresh air.
Case run is ready when — and not over-run
Fine white mycelium is visible in several casing valleys, partially colonized but not solid white, distributed across the tray, casing still moist and porous. Don't wait for a dense white mat — heavy surface colonization seals the casing, reduces water absorption, and produces uneven pinning.
15Triggering Pin Formation
Once mycelium is visible in the casing valleys, change the environment — this cool-down and fresh-air introduction is what actually triggers pins. Doing it before the mycelium enters the casing is a top cause of failure.
Maintain:
- Air temperature: 59–63°F (best ~61°F)
- Casing/compost temperature: ~62–66°F
- Relative humidity: 85–90%
- Carbon dioxide: ~800–1,000 ppm
- Fresh air: moderate to high · Light: not required
- Expected pinheads: ~3–7 days
How to make the transition (over ~1–2 days, not an extreme shock)
Lower the room temperature gradually · increase fresh-air exchange · keep humidity close to 90% · make sure the casing is fully hydrated before pins begin · avoid heavy watering during the pin break · don't let air blow directly across the casing · watch for small white knots.
Light: Portobello doesn't need light to initiate or develop — it can fruit in darkness, though ordinary inspection lighting won't harm the crop.
16What Should Pins Look Like?
Early development may appear as small white knots, tiny round buttons, pale pinheads in casing valleys, small brown-topped structures, or firm spheres attached to short stems. Pins may develop unevenly when casing depth, moisture, or colonization is inconsistent.
Once pinheads are visible
Maintain stable cool temperatures · avoid directly spraying them · keep humidity ~85–90% · continue fresh-air exchange · prevent the casing from drying · avoid touching or moving the tray unnecessarily. Pins can reach solid button size ~3–4 days after they become visible.
17Watering the Casing
The casing is the crop's primary water reservoir during mushroom development. Before pinning: make sure it's thoroughly hydrated before you lower the temperature and add fresh air — water in several light applications, not one heavy soak.
During the pin break — do NOT water heavily
Water striking young pins can damage them, cause abortion, encourage bacterial spotting, disrupt the flush, and compact the casing surface. Hold off until the pins are pea-sized.
When pins become pea-sized, and after harvest
Resume careful watering — apply clean water between developing mushrooms and across open casing, in several small applications, without flooding the compost below. After each harvest, replace moisture gradually (a rough reference is ~1 liter of water per kilogram of mushrooms removed; adjust to tray weight, casing moisture, and drainage). Never soak or submerge the compost tray — the compost and casing must keep their air spaces.
18Fruiting Conditions
Maintain:
- Temperature: 60–65°F (best ~61–63°F)
- Relative humidity: 85–90%
- Carbon dioxide: ~800–1,200 ppm
- Fresh air: regular and consistent · Light: not required
- First harvest: ~18–24 days after casing
Traditional Agaricus bisporus production lowers the air to ~61–64°F and reduces CO₂ as the crop enters fruiting. First mushrooms generally appear ~18–21 days after casing, though Portobellos need extra time beyond the closed-button stage.
Too little fresh air
Long stems · small caps · premature veil opening · weak mushrooms · heavy fuzzy growth · uneven development.
Too much fresh air
Dry casing · cracked caps · lightweight mushrooms · aborted pins · rapid water loss.
Provide regular air replacement without aiming a fan directly at the tray.
19Button, Cremini & Portobello Stages
The same brown Agaricus bisporus culture can be harvested at several stages:
Small brown button. Harvest while the mushroom is small and the veil is completely closed.
Cremini / baby bella. Let the cap grow larger while the veil stays intact or has only begun stretching.
Portobello. Let it mature until the partial veil has broken, the cap has broadened substantially (broadly convex to nearly flat), the gills are exposed and chocolate brown, the cap remains firm, and the outer margin hasn't begun deteriorating.
As the mushroom matures, the cap opens and the gills darken from pink to chocolate brown. Judge maturity primarily by veil opening, not cap size — a smaller mushroom with a fully opened veil may be more mature than a larger one whose veil is still closed.
20When Should I Harvest?
Harvest when the veil has opened completely, the cap has expanded broadly and stays firm and hydrated, the gills are exposed and dark brown, the cap edges remain healthy, and heavy spore release has not begun (gills not wet, collapsed, or nearly black). Don't wait until the cap softens, the edges curl strongly upward, or heavy dark-brown spores coat the casing.
Harvesting steps
Clean your hands · hold the mushroom near the base of its stem · twist gently in either direction · lift the entire mushroom from the casing · trim the soil-covered stem base · remove damaged pins or pieces · fill the resulting hole with a little fresh casing · water the repaired casing lightly when needed · refrigerate promptly. Twist rather than cut flush — it removes the whole base, and debris left in the casing supports pests and disease.
21Additional Flushes
Portobello develops in organized flushes (also called breaks), typically a strong first flush, a strong or moderate second, a smaller third, and occasional limited later mushrooms — normally on ~7–10-day cycles. For home growing, expect two to three useful flushes.
Between flushes
Remove all mature mushrooms and dead/aborted pins · clean mushroom tissue from the casing · fill harvest holes with fresh casing · replenish water gradually · hold ~60–65°F and ~85–90% humidity · continue fresh-air exchange · allow the tray several days to recover · watch for the next pin break. Do not soak the tray — the compost and casing must keep their air spaces.
Expected Timeline
- Days 1–10: early grain growth becomes visible
- Days 14–28: grain spawn fully colonized
- Days 1–21 after spawning compost: compost spawn run
- ~7 days after casing: case run completes
- 3–7 days after the environmental transition: pins form
- ~18–24 days after casing: first Portobellos mature
- Every 7–10 days after: additional flushes
From LC inoculation to the first mature Portobello, most home projects take ~7–11 weeks.
Common Problems & What They Mean
Compost smells strongly of ammonia. It hasn't completed conditioning — do not add spawn. Ammonia can damage Portobello mycelium. Obtain properly prepared Phase II compost or let conditioning finish.
Grain colonized but the compost didn't. Possible: compost was unfinished, held residual ammonia, exceeded 80°F, or was too wet; the grain was contaminated; spawn was uneven; or it was garden compost rather than mushroom compost. Check compost temperature and smell before deciding the culture failed.
Compost is becoming too hot. Active compost and mycelium generate heat. Lower the room temperature and provide gentle circulation — don't aim a fan directly at the bed or let the surface dry.
Compost is colonized but mushrooms won't form. Portobello requires casing. A fully colonized tray without a proper casing layer may keep growing vegetatively without a dependable crop.
Casing is turning solid white. It's over-colonizing or sealing — case run went too long, temperature stayed too warm, CO₂ stayed too high, fresh air came too late, or the casing is too fine/compacted/nutritious. Begin the temperature and fresh-air transition; don't deeply mix the casing.
Mycelium isn't entering the casing. Casing too dry, waterlogged, wrong pH, or compacted; spawn run incomplete; or temperature too cool during case run. Hold ~75°F, high humidity, and minimal fresh air for about a week.
Pins aren't forming. Check whether air temperature was lowered to ~59–63°F, CO₂ was reduced, fresh air was introduced, casing moisture is adequate, the casing is compacted or sealed by mycelium, and the case run was complete. These factors work together — fixing only one may not initiate a pinset.
Too many pins formed. An extremely heavy pinset can exceed available water and nutrition. Maintain casing moisture but don't flood the bed — some small pins naturally abort while the strongest develop.
Pins formed but stopped growing. Casing dried, heavy watering during pin break, temperature fluctuations, direct airflow, high CO₂, bacterial contamination, or compost that lost too much moisture. Hold stable conditions and don't spray the pinheads directly.
Long stems, small caps. CO₂ is too high — increase fresh air gradually while protecting the casing from drying.
Caps cracking or developing scales. Low humidity, direct airflow, sudden drying, or excessive temperature swings. Raise humidity and redirect fans away from the tray.
Caps have wet brown spots. Possible bacterial blotch — from water sitting on caps, high humidity without airflow, direct overhead misting, contaminated water, or dripping condensation. Stop wetting the caps directly and increase gentle fresh air.
Mushrooms opening while still small. Premature veil opening from excessive temperature, dry casing, insufficient compost nutrition, high CO₂, or instability. Judge maturity by the veil, but correct the environment when nearly every mushroom opens early.
Casing smells sour. Likely too wet or poorly aerated. Reduce watering, increase gentle airflow, and confirm the tray can drain.
Green mold appeared. Remove the tray from the grow area. Green mold can establish in compost or casing and spread quickly — avoid disturbing a heavily sporulating tray near healthy crops.
Small flies appeared. Sciarid and phorid flies feed on compost, mycelium, and mushrooms and carry pathogens between trays. Improve sanitation, remove aging compost, use screened ventilation, and don't leave mushroom debris in the casing.
Need Help or Have Questions?
Portobello runs on a different system than most gourmet blocks. The most important steps are using properly prepared Phase II compost, completing the warm spawn run, applying a moist and porous casing layer, and lowering temperature and carbon dioxide only after the mycelium has entered the casing. Contact us via email or phone with questions about your grain, mushroom compost, casing preparation, pinning transition, watering schedule, or Portobello harvest stage. We're here for you every step of the way.
Best of luck with everything, fellow fungi friends — and happy cultivating!
Spore Genetics — Exceptional Mushroom Spores & Cultures