
How to Cultivate Golden Oyster Mushrooms at Home
Grow Golden Oysters, Syringe to Harvest
Vibrant yellow caps, a mild sweet-nutty flavor, and one of the fastest colonizers around — here's the full walkthrough, from grain to harvest.
Golden Oyster mushrooms (Pleurotus citrinopileatus) are an edible oyster species known for their vibrant bright-yellow to golden caps and a mildly sweet, nutty flavor. Golden Oysters (also widely known as Yellow Oysters) are very easy to cultivate and enjoy warmer climates — similar to Pink Oysters.
Walk with me through this guide and let's get these mushrooms on your plate!
You'll Need a Living Culture
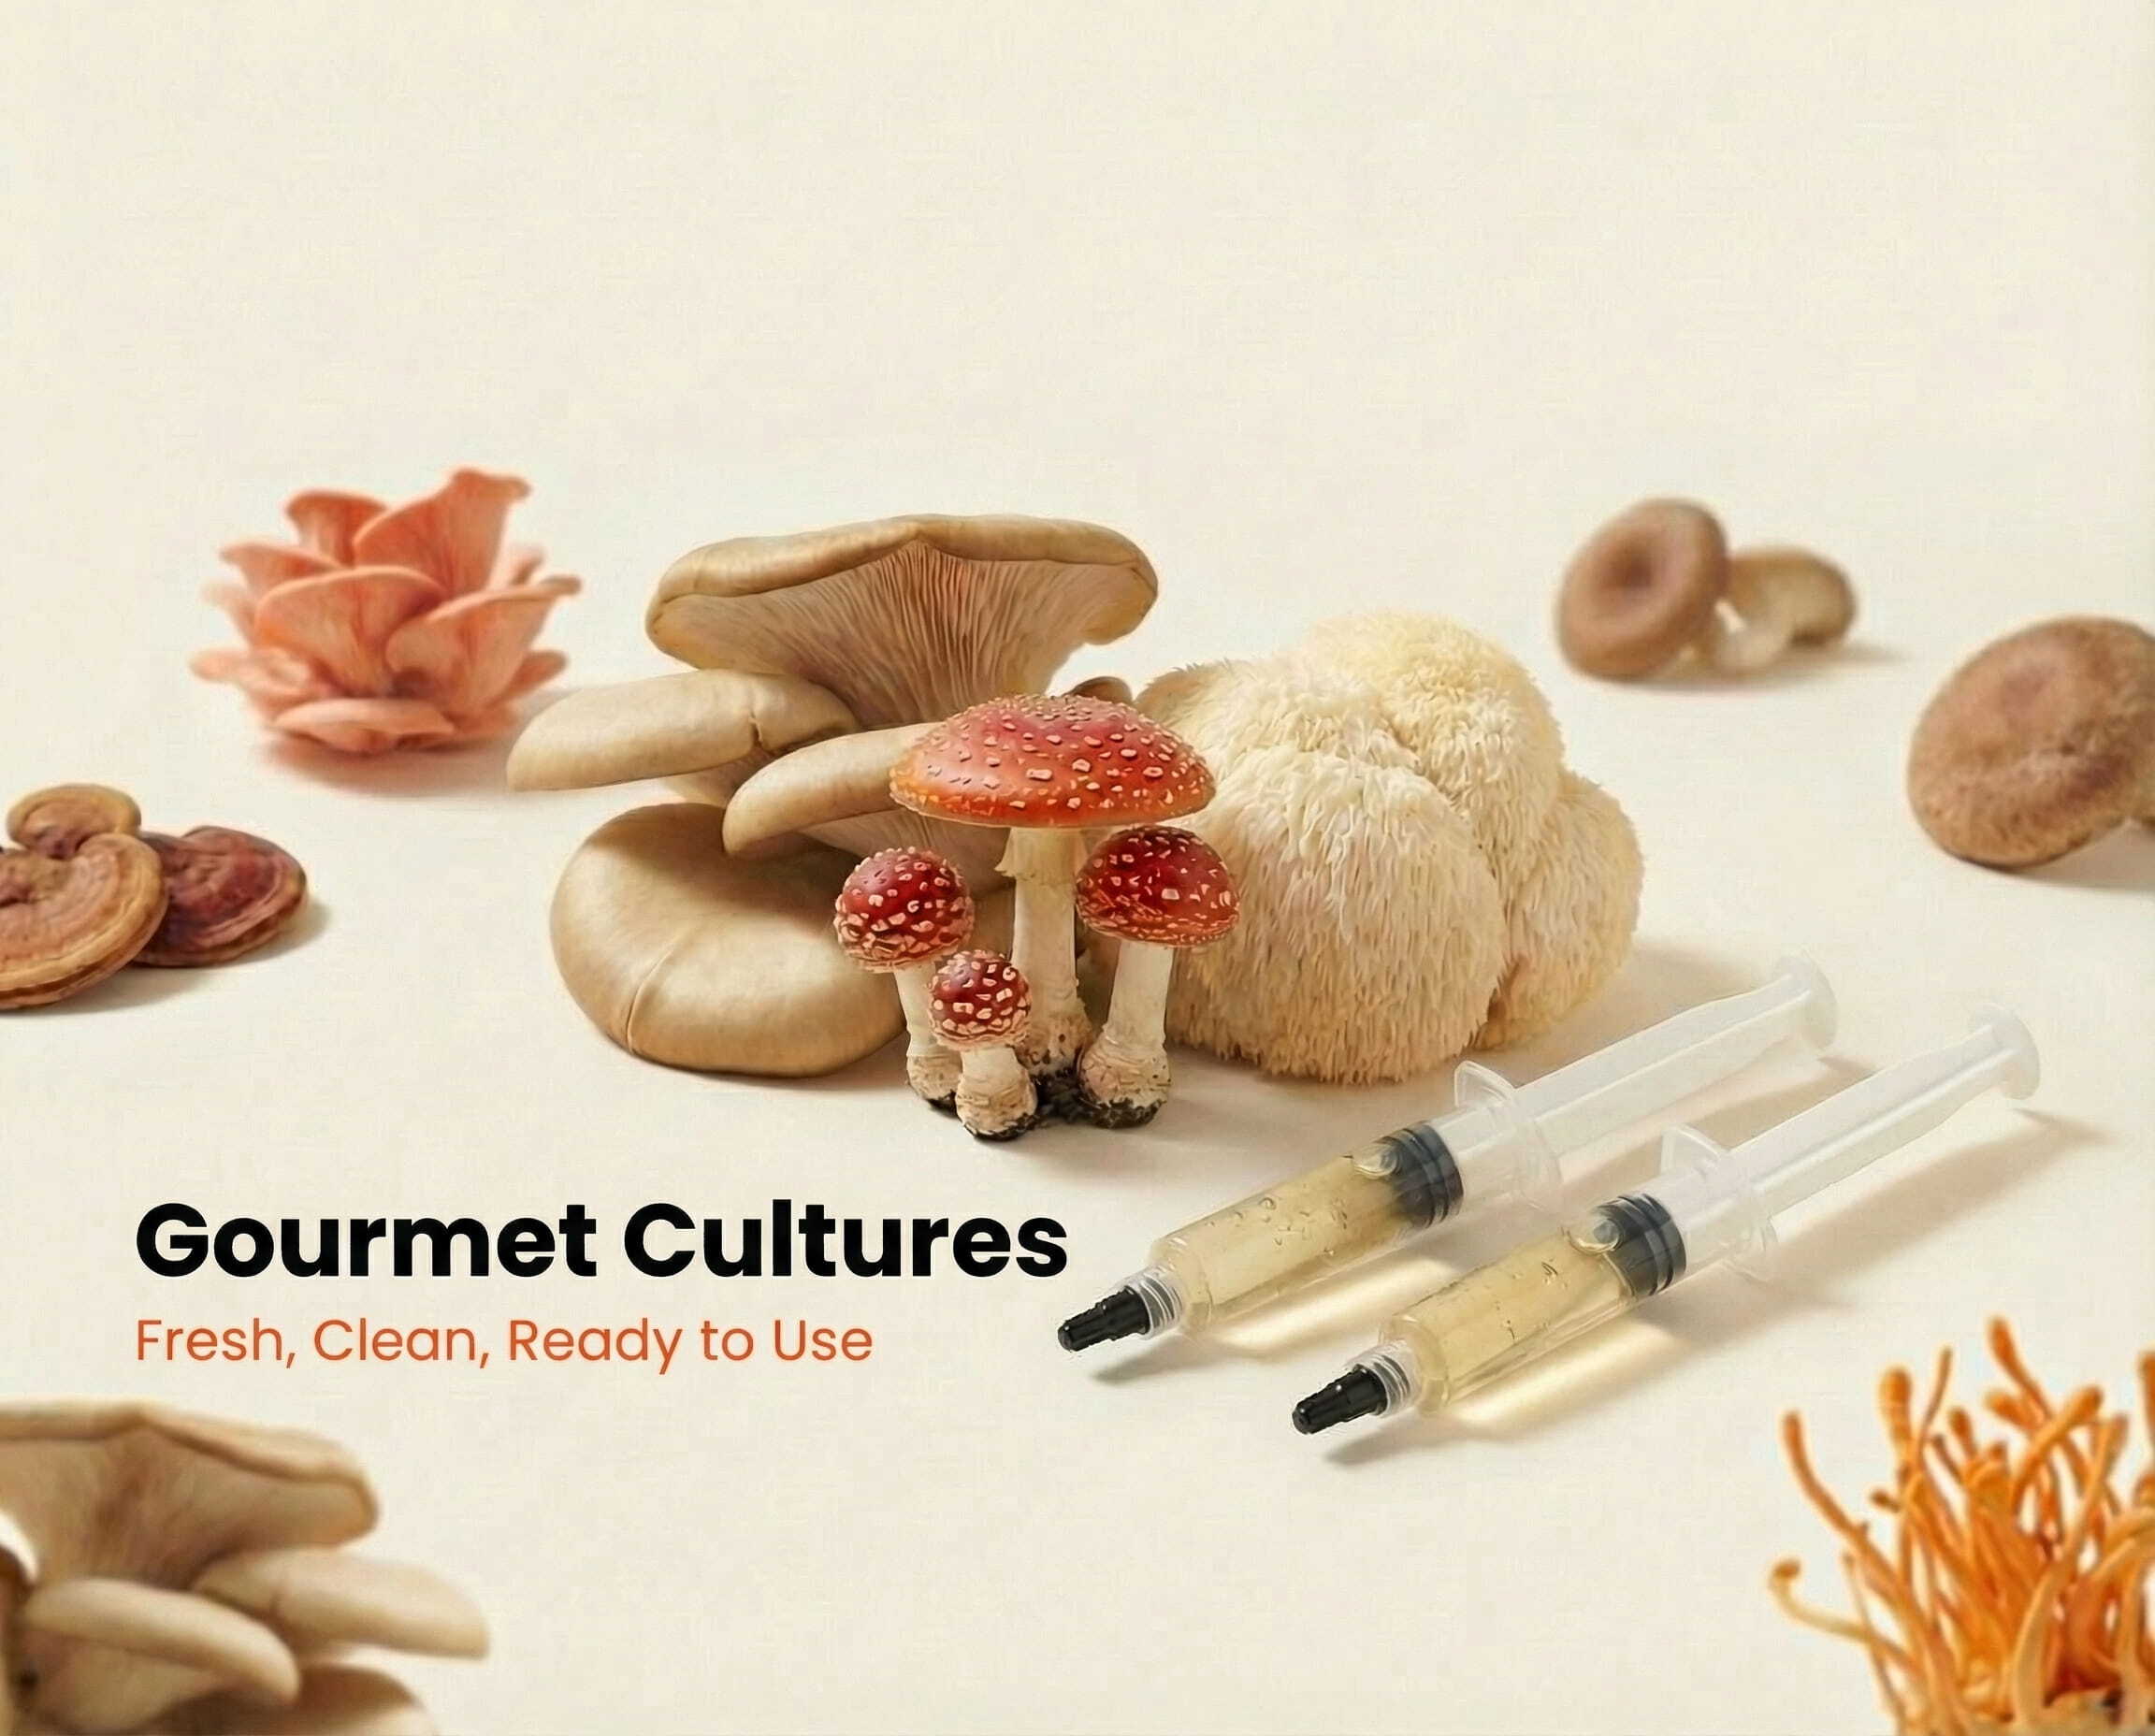
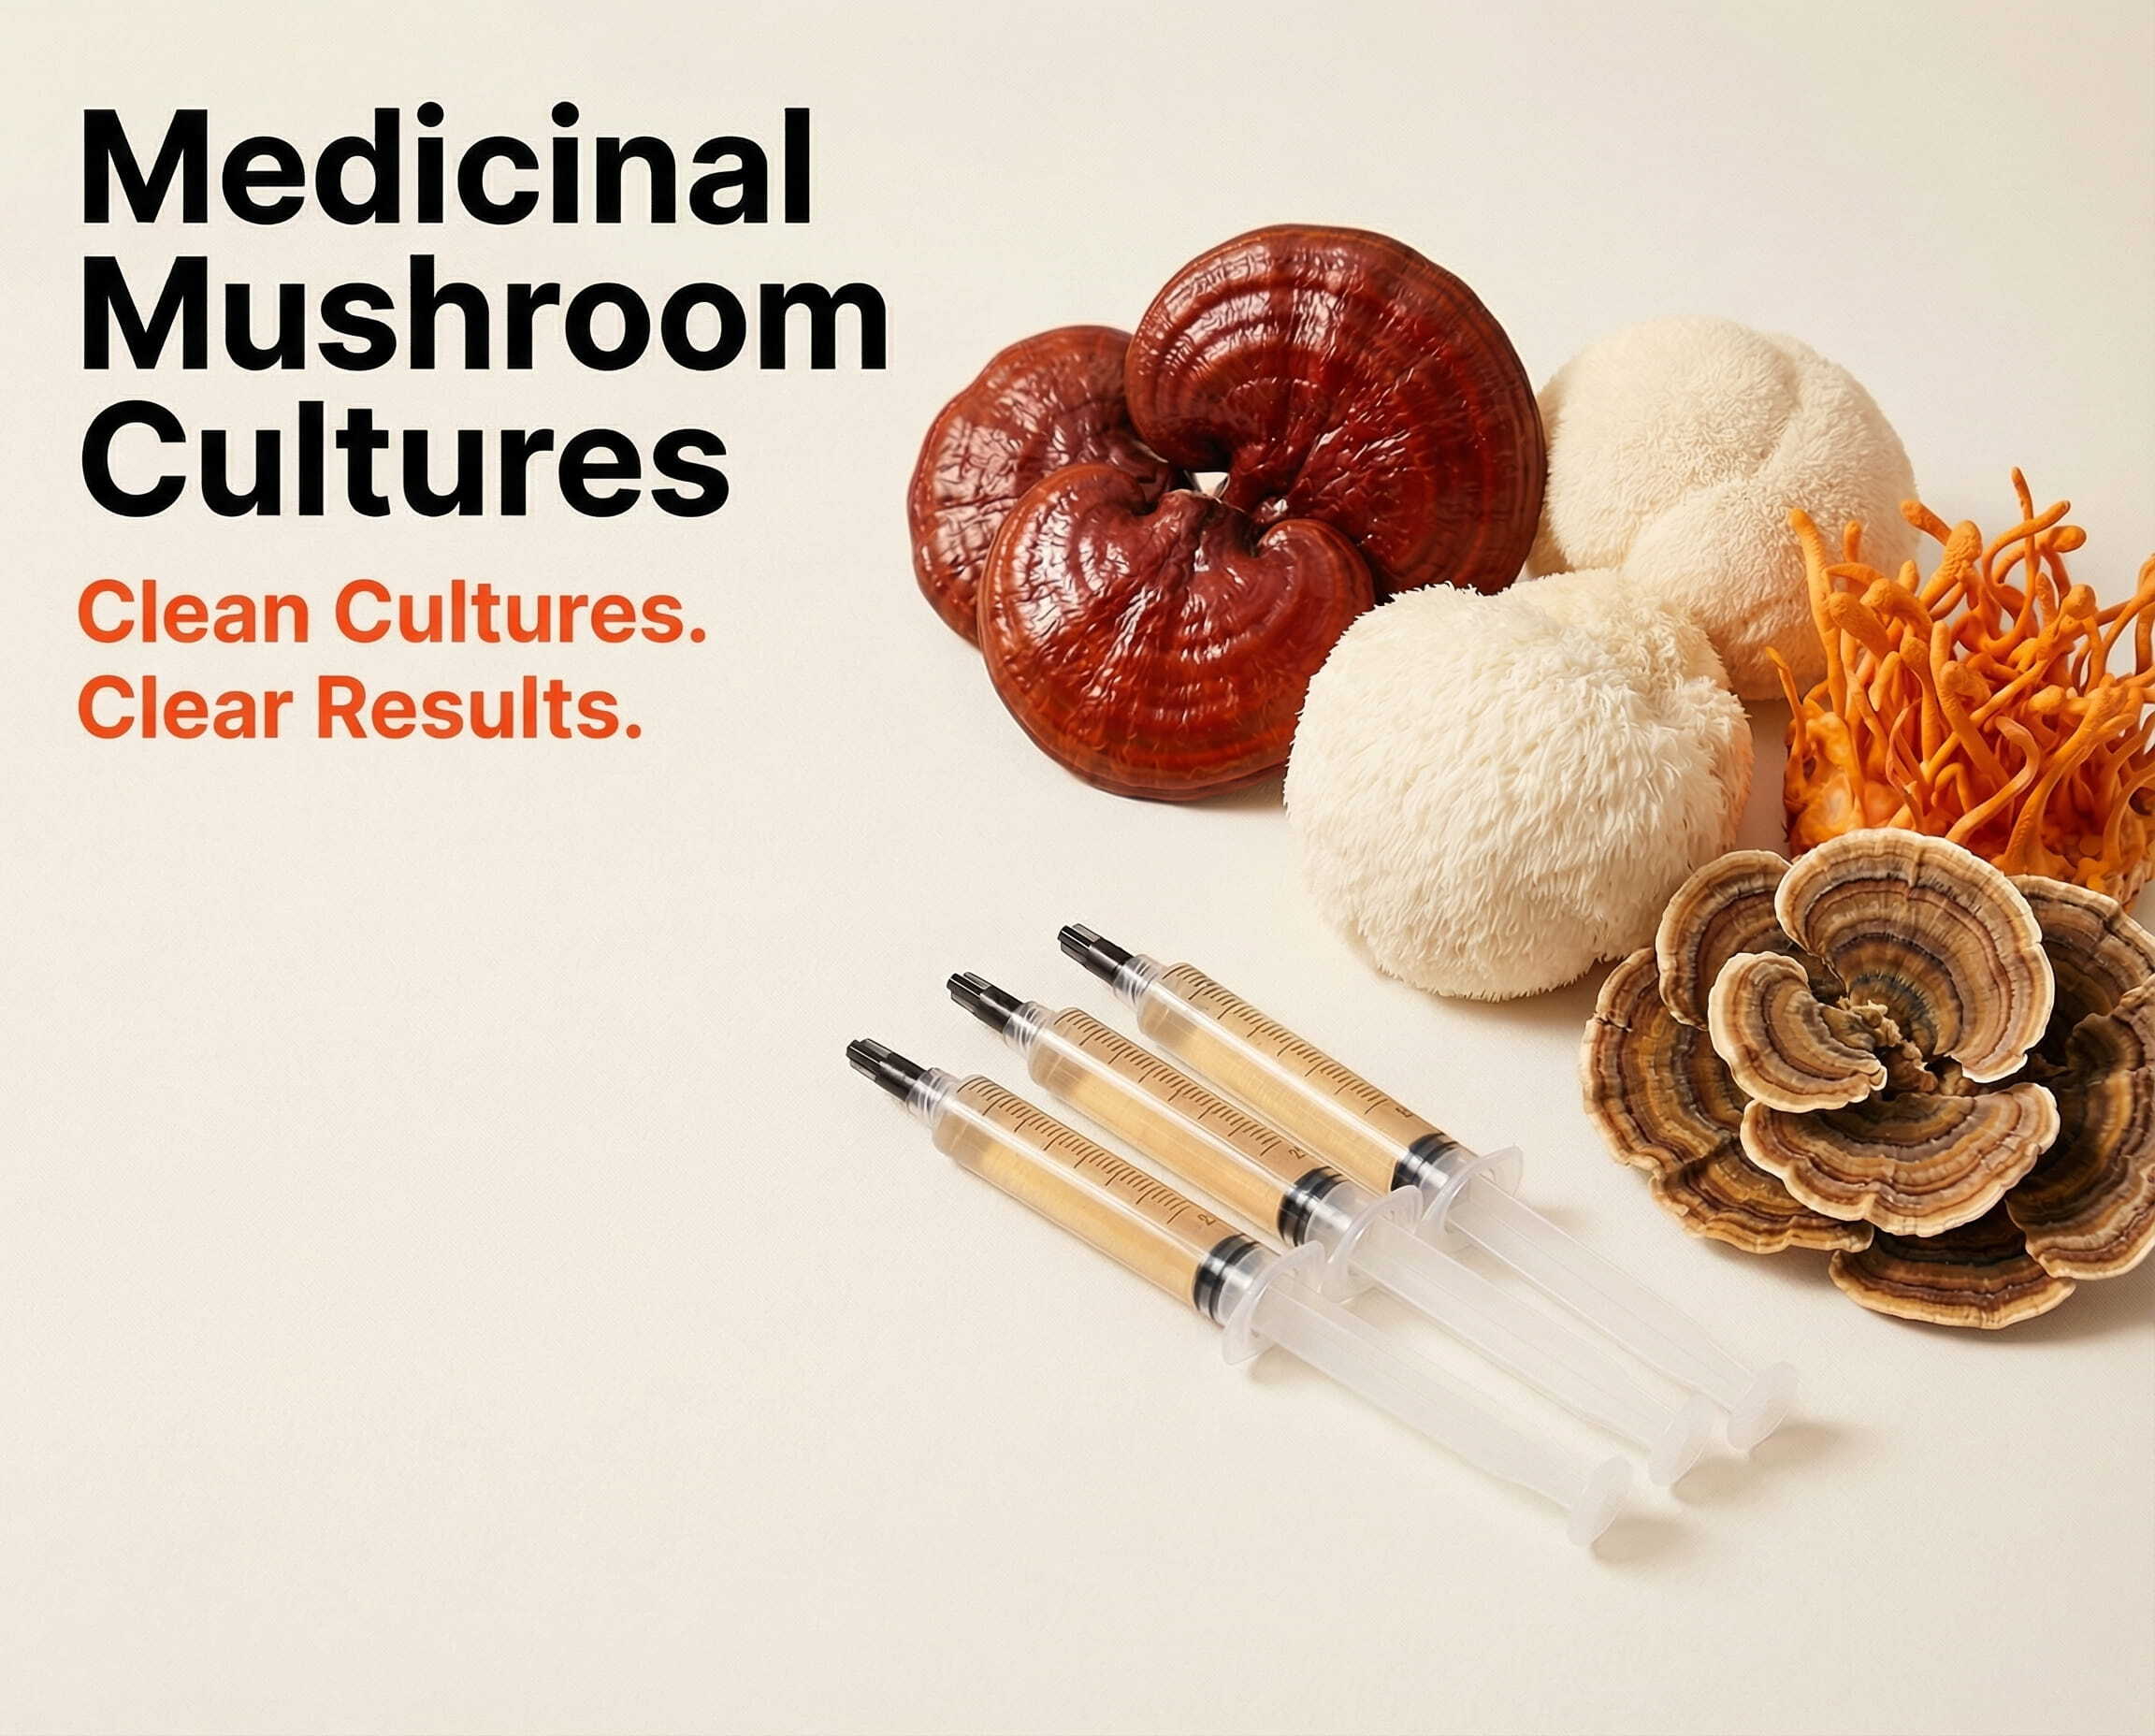
This guide starts from a Golden Oyster liquid culture. Grab yours below — and if you're new to liquid cultures, our LC guide covers the syringe basics first.
Shop Golden Oyster Liquid Culture → How to Use a Liquid Culture →Shop Cultures & Supplies
Drag or scroll to explore →



1What Grains Should I Use?
Golden Oyster mushrooms enjoy starting on rye and 5-grain for best results. You may also opt for oats or corn as alternatives.
Pro Tip
- ALWAYS use sterilized grain. This helps tremendously when avoiding contamination.
- Use trusted kit companies like midwestgrowkits.com or mycolabs.com for rye or 5-grain bags/jars.
- You may also sterilize grains from home — just cook them for the appropriate times depending on your grain type and ratio.
2How Do I Inoculate?
This is a super easy part of cultivating Golden Oysters. We recommend a still-air box (SAB), laminar flow hood, or even the oven-door method. You'll need isopropyl alcohol, paper towels, vinyl gloves, grain bags/jars, and your Golden Oyster liquid culture syringe (alcohol wipes work perfectly too).
Be sure to check how many cc's to inject into your grain based on the jar/bag you're using.
- Put on vinyl gloves and spray down your workspace with isopropyl alcohol. When finished, spray your gloves and let everything dry.
- Use the provided alcohol swabs to wipe down the injection port at the bottom of your grain bags or on top of your grain jar lid.
- Remove the cap from your Golden Oyster liquid culture syringe and attach the provided sterile needle — now you're ready to inject.
Pro Tip
After puncturing the port, hold your syringe at about a 45° angle and carefully give the bag/jar a full 360° spin. This helps spread the liquid culture across more grains.
With grain jars you can go further and shake the jar vigorously after inoculating — this won't harm the liquid culture.
3Colonization
Golden Oyster (Pleurotus citrinopileatus) is primarily a native Asian mushroom. It thrives best around 70–80°F from inoculation through fruiting.
They can withstand a bit more heat if temperatures fluctuate upward. Going below 70°F won't harm the culture, but it can slow growth in cooler climates. No worries — Golden Oyster typically bounces back once returned to normal temperatures.
Golden Oysters will amaze you with how quickly they colonize — full colonization often takes about 1–2 weeks. Do a break-and-shake once about 50% of the grains are covered in mycelium.
It can sit in darkness during this time — no need to worry about humidity or light. Check bags/jars daily for contamination. Brief light exposure for observation won't hurt the mycelium.
- Grain bags: cut the tape holding the top, let it stand tall, and do a break-and-shake so colonized grain disperses into uncolonized grain. Reshape into its block form and let nature do the rest.
- Jars: simply shake the jar to disperse the colonized grains.
If your mycelium is stalling, look at your temperatures. Large fluctuations can throw off growth, but daily observations help you catch issues early and correct them.
4Transferring to Substrate
Golden Oyster works best in a mixture of hardwood sawdust and soy hull — this combination is typically called Master's Mix.
RULE OF THUMB — one colonized grain bag can be split among 6 bags of Master's Mix. For quicker colonization, split between only 2.
Golden Oysters won't benefit from a monotub bulk grow — they need only a few areas exposed to oxygen so the mycelium directs energy to those fruiting points. Golden Oysters are best in a bag, bucket, or log-inoculation setting. Below we focus on the bag method.
- Put on vinyl gloves and spray down your workspace with isopropyl alcohol. Spray the outside of your colonized grain bags/jars and the Master's Mix bag, then let dry.
- Cut the top of your colonized grain bag and the Master's Mix bag. Pour colonized grain into the Master's Mix bag.
- Seal the top (heat seal, clips, rubber bands, or zip ties). Leave some air inside so you can shake effectively.
- Shake the bag vigorously to ensure colonized grains are dispersed throughout the substrate.
- Other than a break-and-shake at ~50% coverage, there's little to do besides keeping it dark and observing daily.
No fresh-air exchange right now — this mushroom still needs CO₂ to colonize again.
5The Fruiting Stage
This is an awesome feeling — getting this far in your Golden Oyster life cycle! Once your Master's Mix bags are fully colonized, you can choose from a couple of methods to bring these mushrooms to full life.
For any method below, the following applies:
- 8–12 hours of light per day. Sunlight isn't necessary indoors; LED/overhead lighting supports directional growth.
- Mist once daily. If your environment is dry, you may need to mist 2–3 times daily.
- Using a humidifier in your chamber? Misting may be reduced — aim for 80%+ humidity.
- Fresh air exchange (FAE) varies by setup, but Golden Oysters love consistent air exchange once fruiting begins.
- After the first flush, rehydrate for additional flushes by dunking the block in water for 18–24 hours (don't exceed 24 hours).
Method 1 — Fruiting Chamber (Monotub / Tote)
Use a monotub, tote, or enclosed space where you can introduce humidity, light, and oxygen. This is especially effective because Golden Oysters fruit well in bags inside a humidity-controlled chamber, keeping things simple.
- If the bag top is heat-sealed, cut it open to mist the block easily, then clip it closed when done.
- Using a monotub? Apply filter patches on the holes to support fresh air exchange.
- No holes? Open the lid for a few minutes 2–3 times a day to release CO₂ and introduce fresh air.
Method 2 — Automated Grow Tent
A streamlined way to fruit Golden Oysters is to place fully colonized blocks into an automated grow tent. You don't need a dedicated tent just for Golden Oysters, but if you already own one it's a great tool — just make sure other species in the tent have compatible climate needs.
- Promote fresh air exchange by opening the tent door periodically, or add a fan that pulls outside air into the tent.
- Automate the fan with a timer (example: 15 minutes every 3–4 hours) and adjust based on observations.
- Aim for 80%+ humidity and avoid prolonged temps above 80°F.
You won't need to worry much about contamination in this stage unless your cakes go above 80°F for a prolonged period, or you leave stagnant water at the bottom of your bags for days.
It's normal for water/yellow liquid to collect at the bottom of your bag — just dump out excess buildup whenever you notice it.
Need Help or Have Questions?
If you have specific questions along the way, contact us via email or phone. We're here for you every step of the way.
Best of luck with everything, fellow fungi friends — and happy cultivating!
Spore Genetics — Exceptional Mushroom Spores & Cultures