
How to Cultivate Antler Reishi Mushrooms at Home
Grow Antler Reishi, Syringe to Harvest
Long, elegant antlers grown in high CO₂ — a striking medicinal form of reishi. Here's the full walkthrough, from grain to harvest.
Antler Reishi is such a fun medicinal mushroom to grow, and the benefits are always the best part. You can use Antler Reishi for your own wellness or to help a loved one seeking tranquility and peace of mind — it's traditionally valued for its potential to help with stress-related issues.
Just like any reishi variety, it will teach you patience. It takes its time growing those beloved antlers everyone enjoys watching develop — but you can totally do it! Let's get into how to grow Antler Reishi right at home.
You'll Need a Living Culture
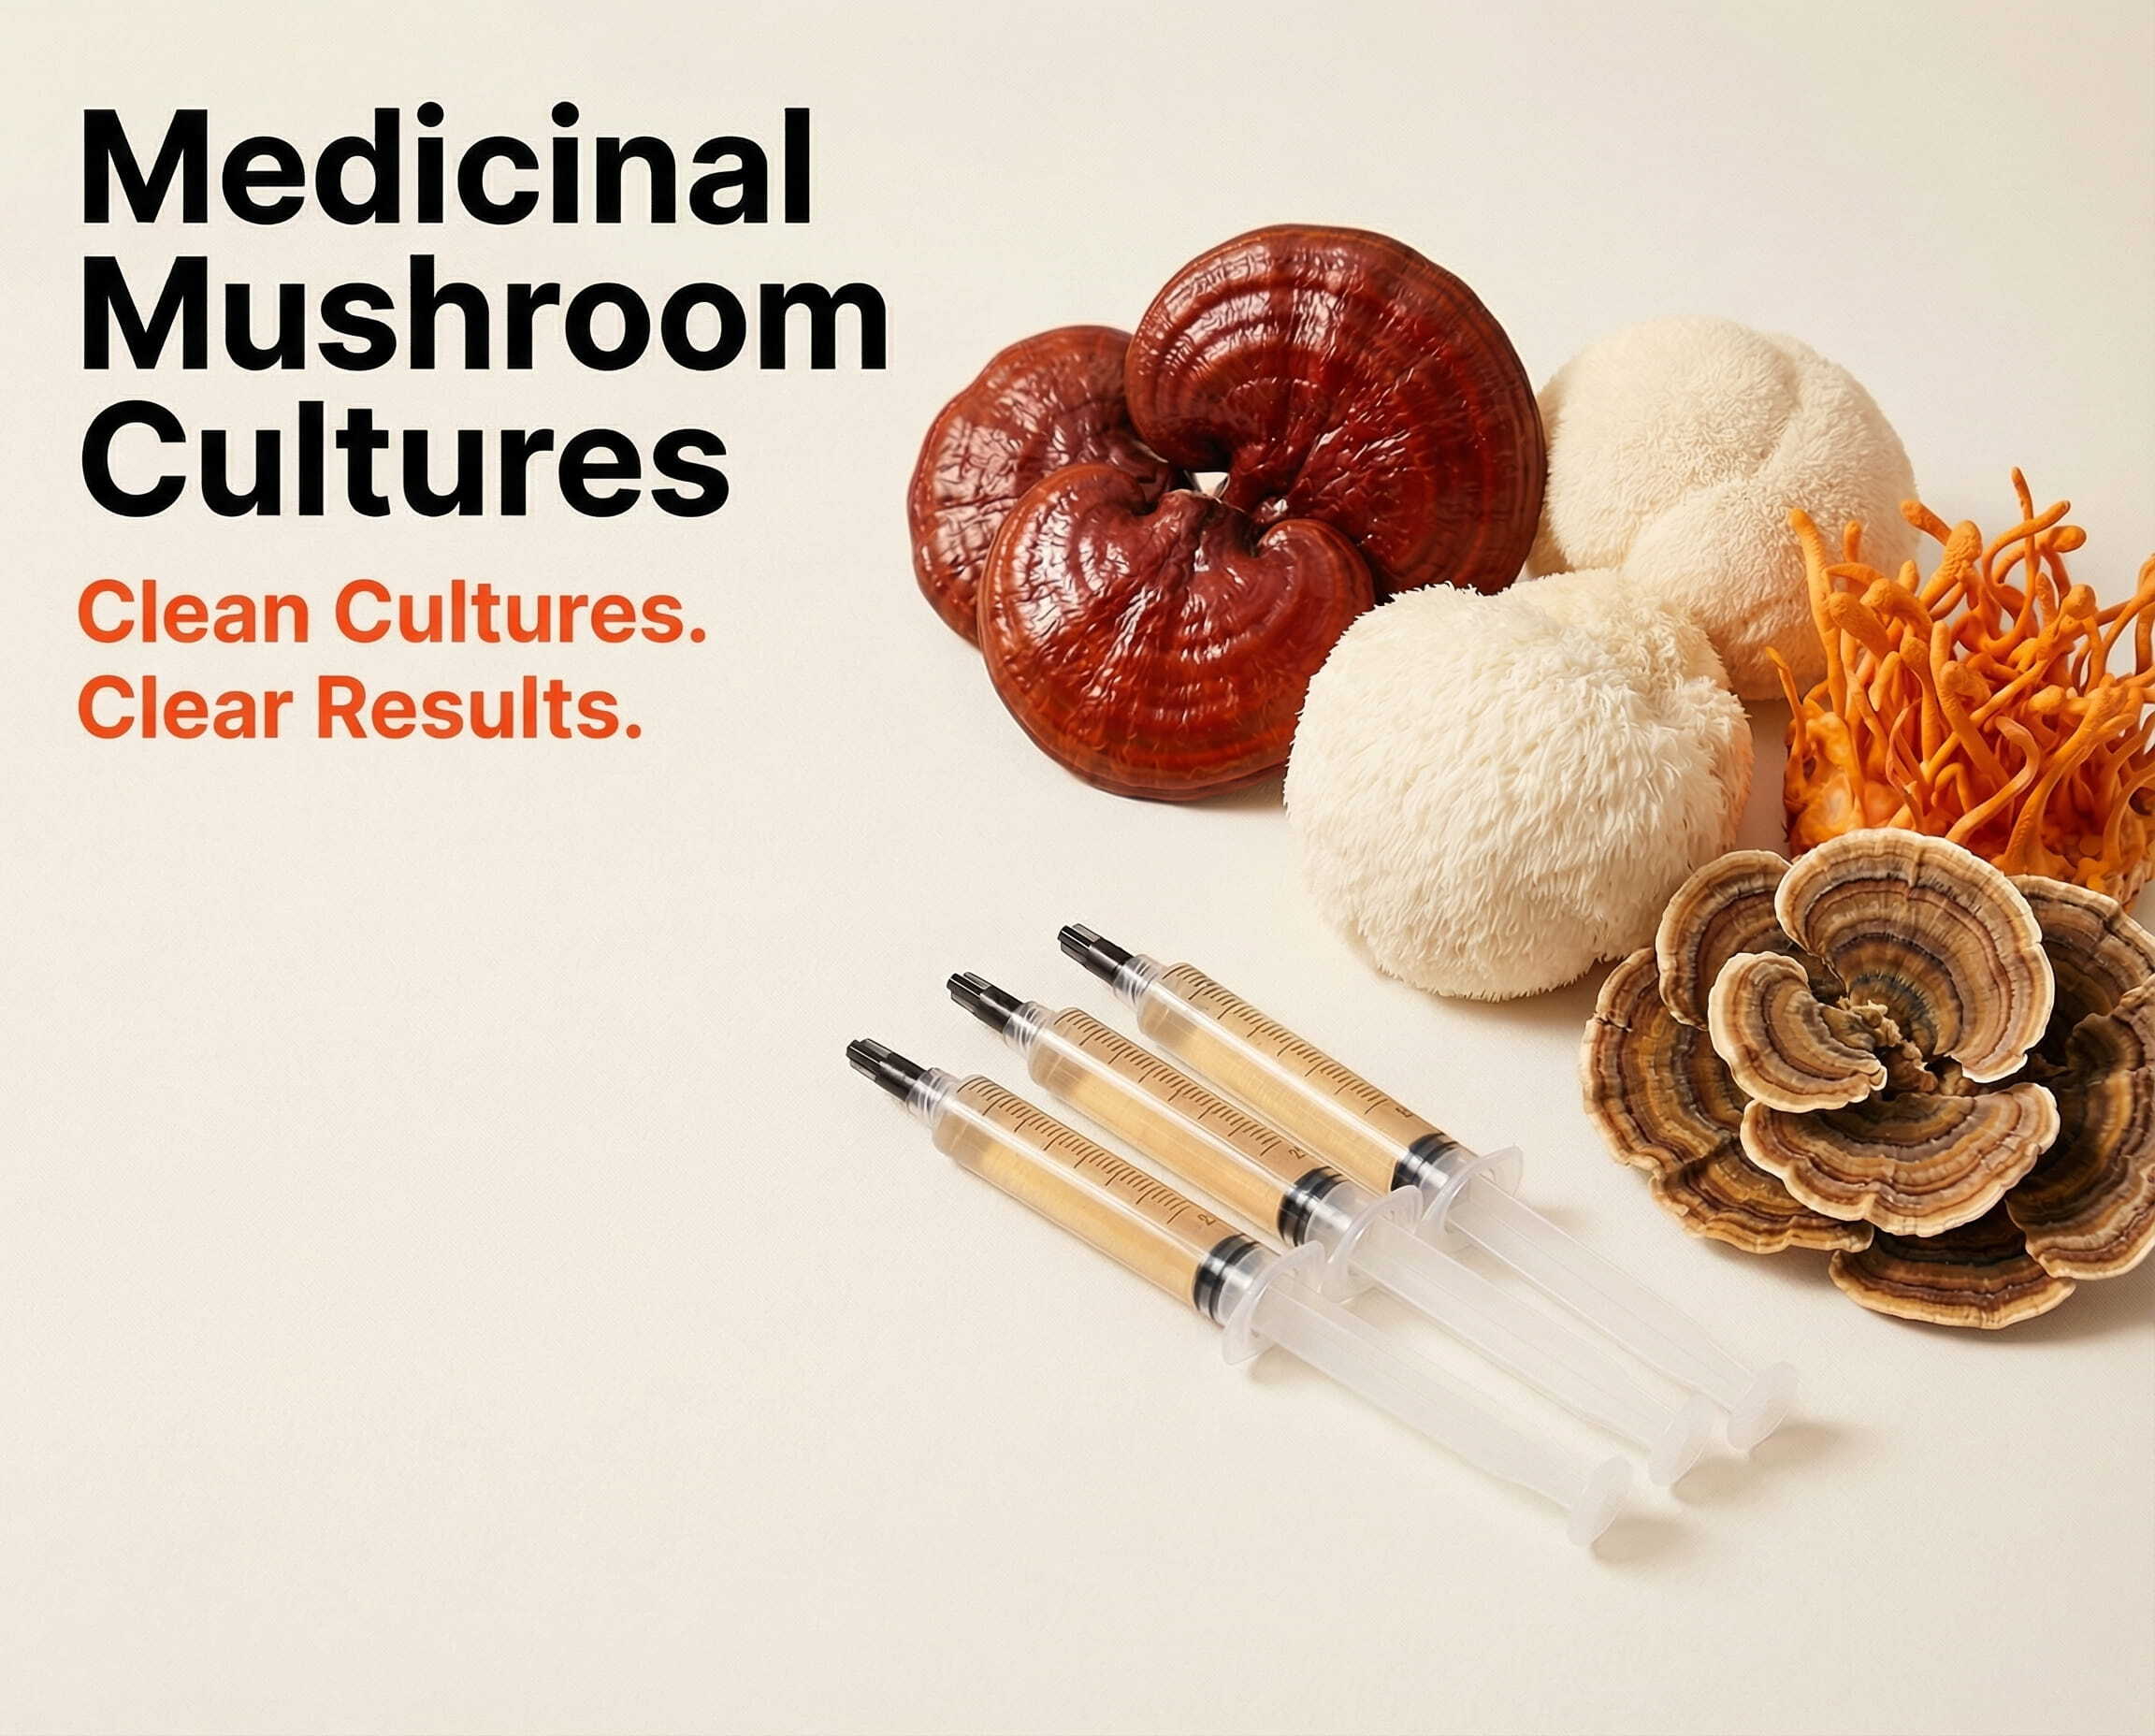
This guide starts from an Antler Reishi liquid culture. Grab yours below — and if you're new to liquid cultures, our LC guide covers the syringe basics first.
Shop Antler Reishi Liquid Culture → How to Use a Liquid Culture →Shop Cultures & Supplies
Drag or scroll to explore →





1What Grains Should I Use?
Antler Reishi grows wonderfully on rye or 5-grain for best results. If prepared correctly, you may also use oats, corn, or rice. Antler Reishi isn't fussy about what grain you start it on.
Pro Tip
- ALWAYS use sterilized grain. This helps tremendously when avoiding contamination. Use trusted kit companies like MidwestGrowKits.com or MycoLabs.com for rye or 5-grain bags/jars.
- You may also sterilize grains at home — just cook them for the appropriate time depending on the volume and type of grain.
2How Do I Inoculate?
This is a super easy part of growing Antler Reishi. We recommend a still-air box (SAB), laminar flow hood, or even the oven-door method. You'll need isopropyl alcohol, paper towels, vinyl gloves, grain bags/jars, and your Antler Reishi liquid culture syringe (alcohol wipes work perfectly too).
Be sure to check how many cc's to inject into your grain based on the jar/bag you're using.
- Put on your vinyl gloves and clean your workspace thoroughly with isopropyl alcohol. When finished, spray or wipe your gloves and allow everything to dry.
- Use the provided alcohol swabs to wipe down the injection port at the bottom of your grain bags or on top of your grain jar lid.
- Shake your syringe vigorously. Remove the cap from your Antler Reishi liquid culture syringe and attach the provided sterile needle. You're ready to inject!
Pro Tip
- After puncturing the port, hold your syringe at about a 45° angle and carefully give the bag/jar a full 360° spin to help spread the liquid culture.
- With grain jars you can go further and shake the jar vigorously after inoculating — this won't harm the liquid culture.
3Colonization
Keep your inoculated grain bag/jar in a warm 70–80°F during colonization. With Antler Reishi, colonization is significantly quicker than standard Red Reishi — be ready to watch the magic happen within roughly 2 weeks.
During this time, the grains can sit in darkness without worrying about humidity or light. Check the bags daily for contamination. Brief light exposure during inspection won't hurt the mycelium.
- Grain bags: at break-and-shake time, cut the tape holding the top, let it stand tall, gently break up the colonized grains and shake, then reshape into a block and let nature do the rest.
- Jars: simply shake the jar thoroughly to disperse the colonized grains.
If your mycelium is stalling, check your temperatures. Too cold or too hot and growth may slow or pause. Large swings can throw off the mycelium — but with daily observations you'll catch issues early and correct them.
4Transferring to Substrate
Antler Reishi performs best in a mixture of hardwood sawdust and soy hull — commonly known as Master's Mix.
RULE OF THUMB — one colonized grain bag can be split among 6 bags of Master's Mix. For quicker colonization, split between 2.
Antler Reishi won't benefit from a monotub bulk grow — it prefers specific fruiting points, mimicking a dead tree. You can also use buckets or inoculate hardwood logs outdoors; we'll focus on the bag method here.
- Put on vinyl gloves and spray down your workspace with isopropyl alcohol. Spray the outside of your colonized grain bags/jars and Master's Mix bags, then let dry.
- Cut the top of your colonized grain bag and the Master's Mix bags. Pour the colonized grains into the Master's Mix bag.
- Heat-seal the top, or use clips, rubber bands, or zip ties to keep it closed. Leave some air inside to allow room to shake next.
- Shake the bag vigorously to disperse and break up all colonized grains throughout the substrate.
- Tape the top of your bag down to the bottom to encourage CO₂ buildup.
- At about 50% mycelium coverage, remove the tape, break down the grains and substrate again inside the bag, and shake vigorously.
- Reshape into a block and keep the top standing straight up — you don't need to tape it again.
Let it colonize fully — once solidly colonized, you're ready for fruiting. No air exchange right now: this mushroom still benefits from high CO₂ during colonization.
5The Fruiting Stage
A huge accomplishment — you've made it this far in the life cycle of your Antler Reishi! Soon all your hard work will pay off.
Antler Reishi has a unique fruiting style compared to cap-forming mushrooms. At first, you'll focus on encouraging long, elegant antlers rather than traditional caps.
Phase 1 — Grow the Antlers (Keep CO₂ High)
- Keep the bag with the top standing straight up. Do NOT make any incisions yet.
- Provide 8–12 hours of light per day above the bag, as in typical fruiting conditions.
- You do not need high humidity or strong fresh air exchange at this stage.
- Keep it around 70–80°F.
Antlers form through high CO₂ buildup. This stage typically takes about 1–2 months to fully develop antlers inside the bag. When the antlers approach the top of the bag — or you see no new growth for 1–2 weeks — it's time for the next step.
Phase 2 — Bring the Antlers Fully to Life
Now cut the top of your Master's Mix bag and fold it down — let those antlers free! Antler Reishi needs 80%+ humidity, so in a drier climate, consider:
- Using a monotub or tote big enough to fit your Antler Reishi bag, or
- Placing the bag into a grow tent (MidwestGrowKits.com offers tents, or use any similar mushroom grow tent you already own).
Just be sure there's some airflow so the mushroom gets enough oxygen. Gentle fresh air exchange plus high humidity lets the antlers fully mature and develop character.
This part takes about 3–4 weeks for full maturation, or until you notice no significant changes and the reishi appears slightly wrinkled and fully formed.
It's normal for water or yellowish liquid (metabolites) to collect at the bottom of your bag — just dump out excess buildup whenever you notice it.
Want reishi's benefits without the wait?
Reishi is prized for calm, stress relief, and restful sleep — but antler reishi is a months-long grow. Mycogen Night Reset delivers concentrated reishi in a nightly extract — same mushroom, ready to take tonight.
Shop Mycogen Night Reset →Need Help or Have Questions?
If you have specific questions along the way, contact us via email or phone. We're here for you every step of the way.
Best of luck, fellow fungi friends — and happy cultivating!
Spore Genetics — Exceptional Mushroom Spores & Cultures